In July 2013 Melissa, at Happy Quilting, held a quilt-a-long (QAL) with her Star Surround Block. I had tried block of the month and finish-a-longs but I was new to the QAL experience. I have to say that I really enjoyed the process and seeing how different each person’s quilt turned out. Different fabric choices and differences in how people assembled each block led to an array of similar but unique quilts. The best part is that when the QAL ended I was left with a completely finished quilt rather than another quilt top to add to my growing pile of unfinished quilts.
Every time I make a quilt I challenge myself to try something new. On this quilt I upped the ante by trying three new things:
- I just free styled the backing. I used all the fabric left over from my blocks along with a solid and just began piecing them together however I picked up the pieces. I didn’t square them or measure them….I just winged it.
- When it came to the quilting, I just let the feathers flow without pre-planning, marking or measuring.
- I added a little 1/4″ flange under the binding using some of the leftover backing fabric.
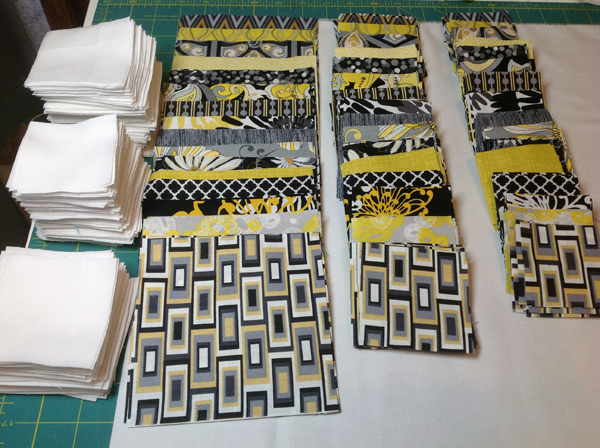
Week one we had to pick our fabrics. It took me three shopping trips to come up with my 18 fabric choices, 16 for the blocks plus background/binding and backing. I surprised myself by choosing a black, yellow and grey colour scheme. Totally outside my comfort zone but for some reason they appealed to me. I don’t think I’ve ever made a quilt that didn’t have some blue in it.

Week two we cut up all our print and background fabric
In week 3 the fun really started. I had to make 256 half square triangles and trim each and every one of them. Man that was hard on the hands.
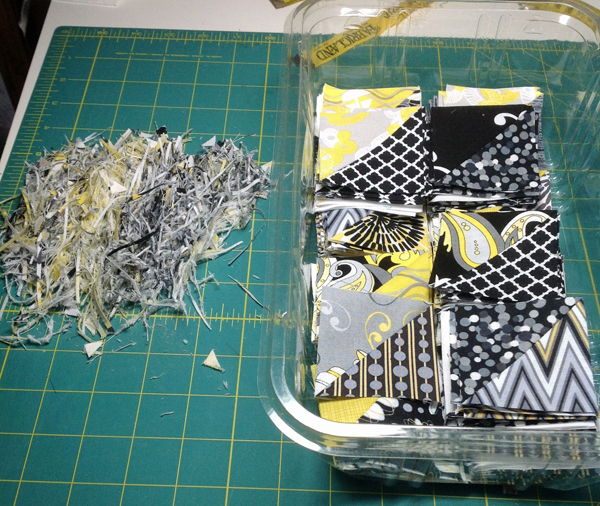
In week 4 we switched from half square triangles to flying geese. A mere 192 of the little suckers. Melissa taught us a quick, no waste method that was quite easy.

The real fun started in week 5 when we began the assembly of our blocks. We started with the star centres. They went together quite quickly. It was the second week a row that I finished my assignment a few days early.
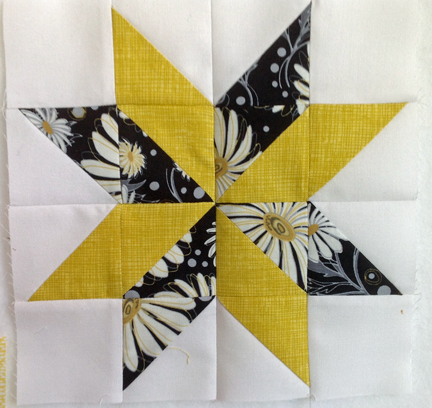
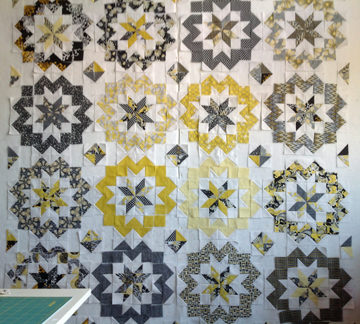
In week 6 we were supposed to assemble the pieces that surround the star. I wanted to get a feel for how the surrounding fabrics were going to work with each star centre so I decided to lay out all the hundreds of little pieces of fabric on my design wall. Talk about a big puzzle. I arranged and re-arranged the fabrics until I found something that I thought worked the best. Silly me left the window open that evening and came back to a fabric surprise on the floor the next morning. More than a 1/3 of the pieces were blown off the wall……that was a puzzle I did not enjoy putting back together!
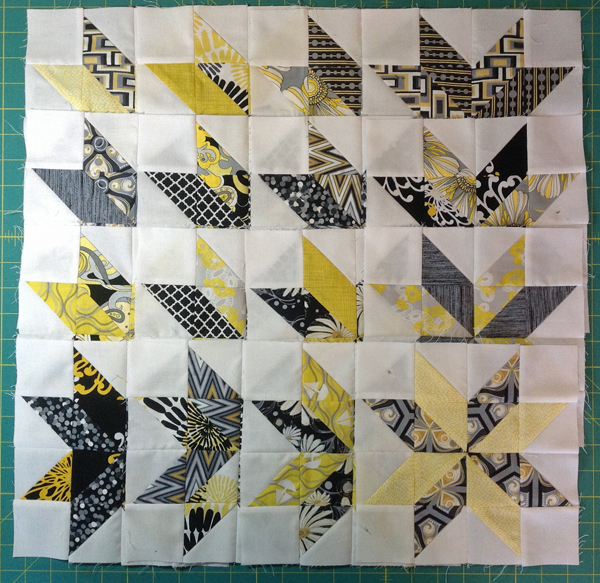
In week 7 we finally got to attach the surrounding pieces to the star centres to create the final 16 star surround blocks.

Then the fun really started. We had until September 15th to assemble our 16 blocks into a quilt top in order to qualify for the grand prize draw. If you wanted to show off your quilt in the final parade, you had to have it quilted and bound by the 15th.
I had my quilt top finished on August 29th so I decided to go for the gusto and try and make the deadline for the final parade.
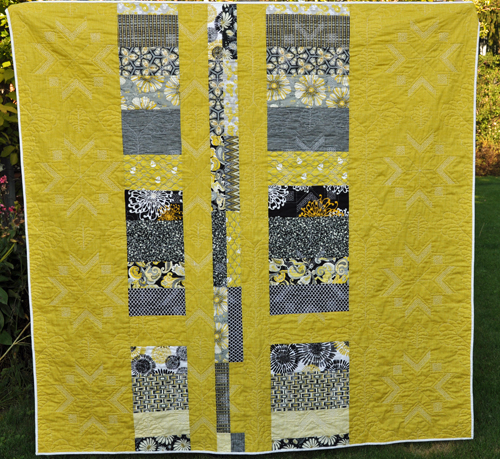
Here is my free styled pieced backing…..it was really liberating to just go with the flow and just let it come together.

I was lucky that I had a week of vacation after the September long weekend so it gave me extra time to work on the free motion quilting. My sewing machine was less than co-operative…..or maybe it was the thread I chose but I could only sew for short bursts and then my top thread would break. I’ve been dreaming of owning a longarm machine one day when I grow up…..this project has given me the incentive to start the research and maybe make that dream come true.
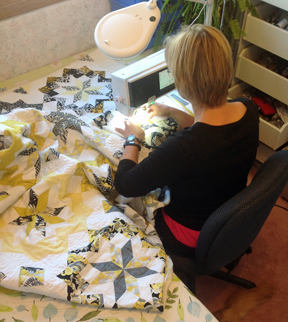
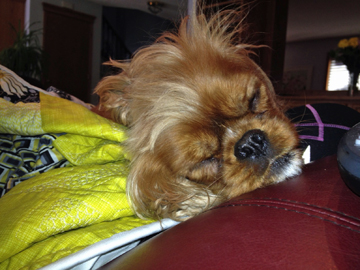
As usual, the minute I sit down to hand sew on the binding….my four legged helper just has to plunk her little, fat body right in the middle of my project. Then she starts flirting with me so my heart melts and I can’t kick her off.


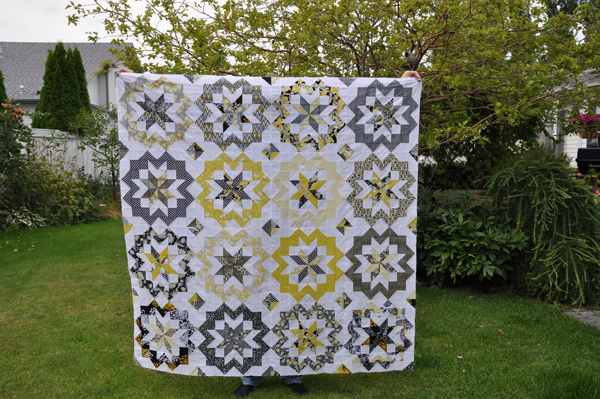
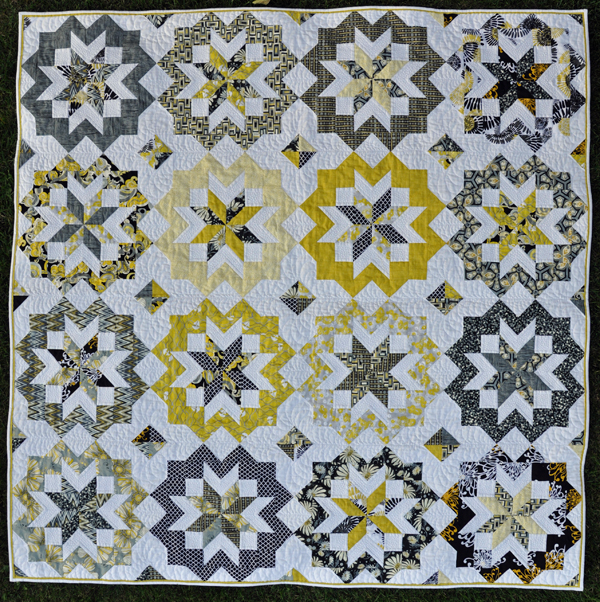
And finally, the finished quilt…..
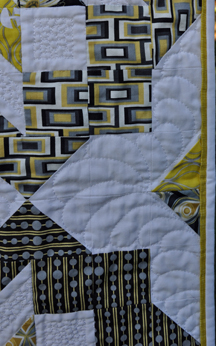
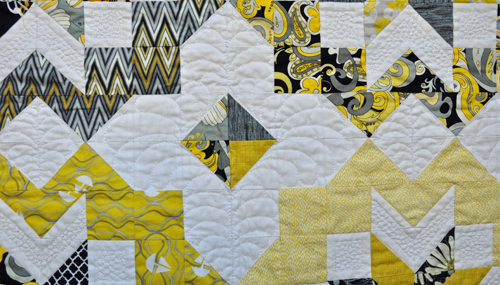
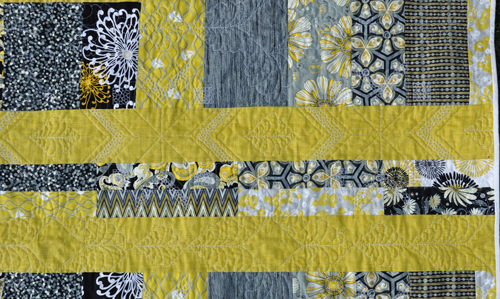
Here is a close-up of the yellow flange along the border:
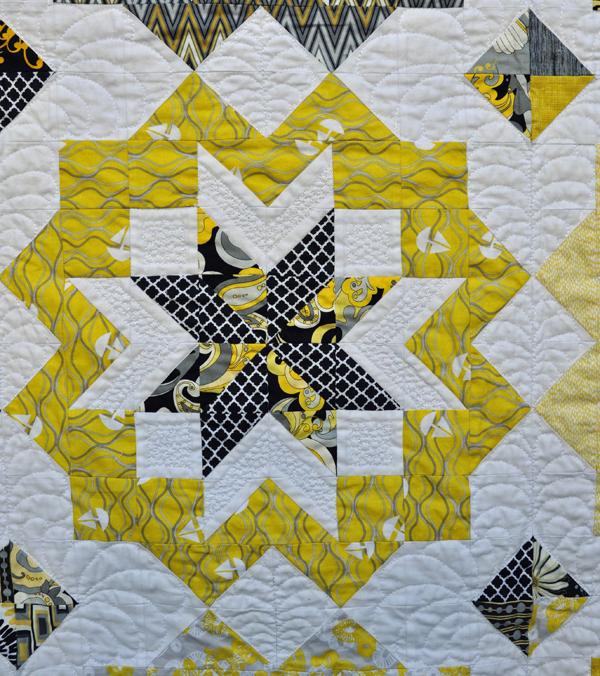
I did some pebbles in the background of the stars and some feathers in the background between the blocks:


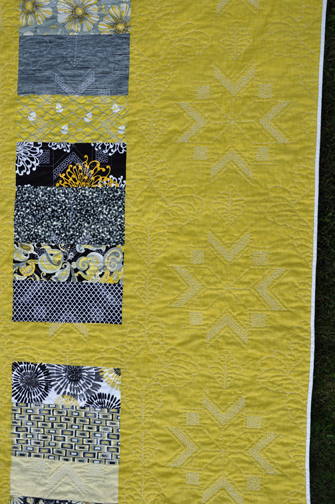
I think the back turned out really interesting and the quilting really shows up on the background fabric in between the printed ones:


Linking up to Thank Goodness it’s Finished Friday (TGIFF) at Cherry Valley Designs.


Yahoo!! Done and Done! (…not that I had any doubts…) It is beautiful Debbie. This is the first quilt that I feel “you” in it somehow – all the elements came together so well and I feel a “freedom” in it. Terrific job.
Wow Debs, just when I though you had outdone yourself on the last one here you go again……………..Whoop, Whoop….it’s beautiful!!!!!
You had me drooling with the first photo! What great fabric choices, and it just gets better and better with each pic. Congratulations on a stunning finish!!
Wow! These are just beautiful and I love seeing your dogs “help” 🙂
Thank you for linking up with TGIFF!
Have a great weekend! 🙂 Megan @ Cherry Valley Designs
Wow, wow, wow! It’s gorgeous, Debbie!
Absolutely beautiful. I managed one 40″ block straight line quilted. I’m in awe of all the work you’ve put in in so short a time!
Beautiful quilt! I think I have 80% of the fabrics you used,,,,hmmmm might have to be a future project.
Beautiful quilt! I think I have 80% of the fabrics you used………..hmmm……may have to be a future project.